
The Making of a Black Walnut and Maple End Grain Cutting Board


The first step is to hand pick nice hardwood, preferably woods with nice grain, color, square, no splitting and no worm holes. If you purchased wood, let the wood acclimate to the conditions of your shop for a week before starting your project. Knowing the final size of the board allows you to calculate the total board feet of hardwood required to make the board. Keep in mind that there are numerous cuts and glue ups in the process. You need to account for all of the cuts as each cut on a table saw waste 1/8 of material.
Prepare your cuts for the best use of the hardwood and the design. If you plan to use different types of woods, you may need more board feet of one wood verses the other based on your design. Since this board is primary Black Walnut, I will need more Black Walnut than Maple.
Plan your cuts based on final size of the board. Start by cutting the wood into strips. The size of the strips is determined based on the final design and size of the board. Glue all of the strips together in the sequence of your design, leaving the boards in the clamps for a minimum of 24 hours.
The above photo shows the Black Walnut and Maple strips, this is the first glue up. After removing the glued strips from the clamps, both surfaces were sanded smooth to size per my design.
Next step was to cross cut the above boards into strips that are 1-5/8 wide, which will make a 1-5/8 thick board. The 1-5/9 thickness provides 1/8″ for flattening both surfaces and all the sanding. After cutting the strips, each piece is carefully placed in the proper sequence based on the design. Every other piece is the opposite of the last piece. After each piece is in order, it is time for the second glue up.
The above photo shows the second glue up of all of the strips that were cut to 1-5/8″. This will be the final design.
In the above photo, after 24 hours, I removed the boards from the clamps. I then cut the board to size, 14 x 20 inch and started sanding the surface on all sides. The final thickness will be 1-1/2 inch. Once this is completed, I will cut finger pulls of each end and then sand them smooth. My sanding process starts at 120 grit up to the final grit of 300.
The sanding took nearly an hour to go from 120 grit to 300 grit. They are looking good, flat on all surfaces and all sanded. Next step is to cut the finger pulls, then apply the final finish.
The above photo shows the board after cutting the finger pulls, sanding the finger pulls and applying the final finish.
Finished!

Also in News
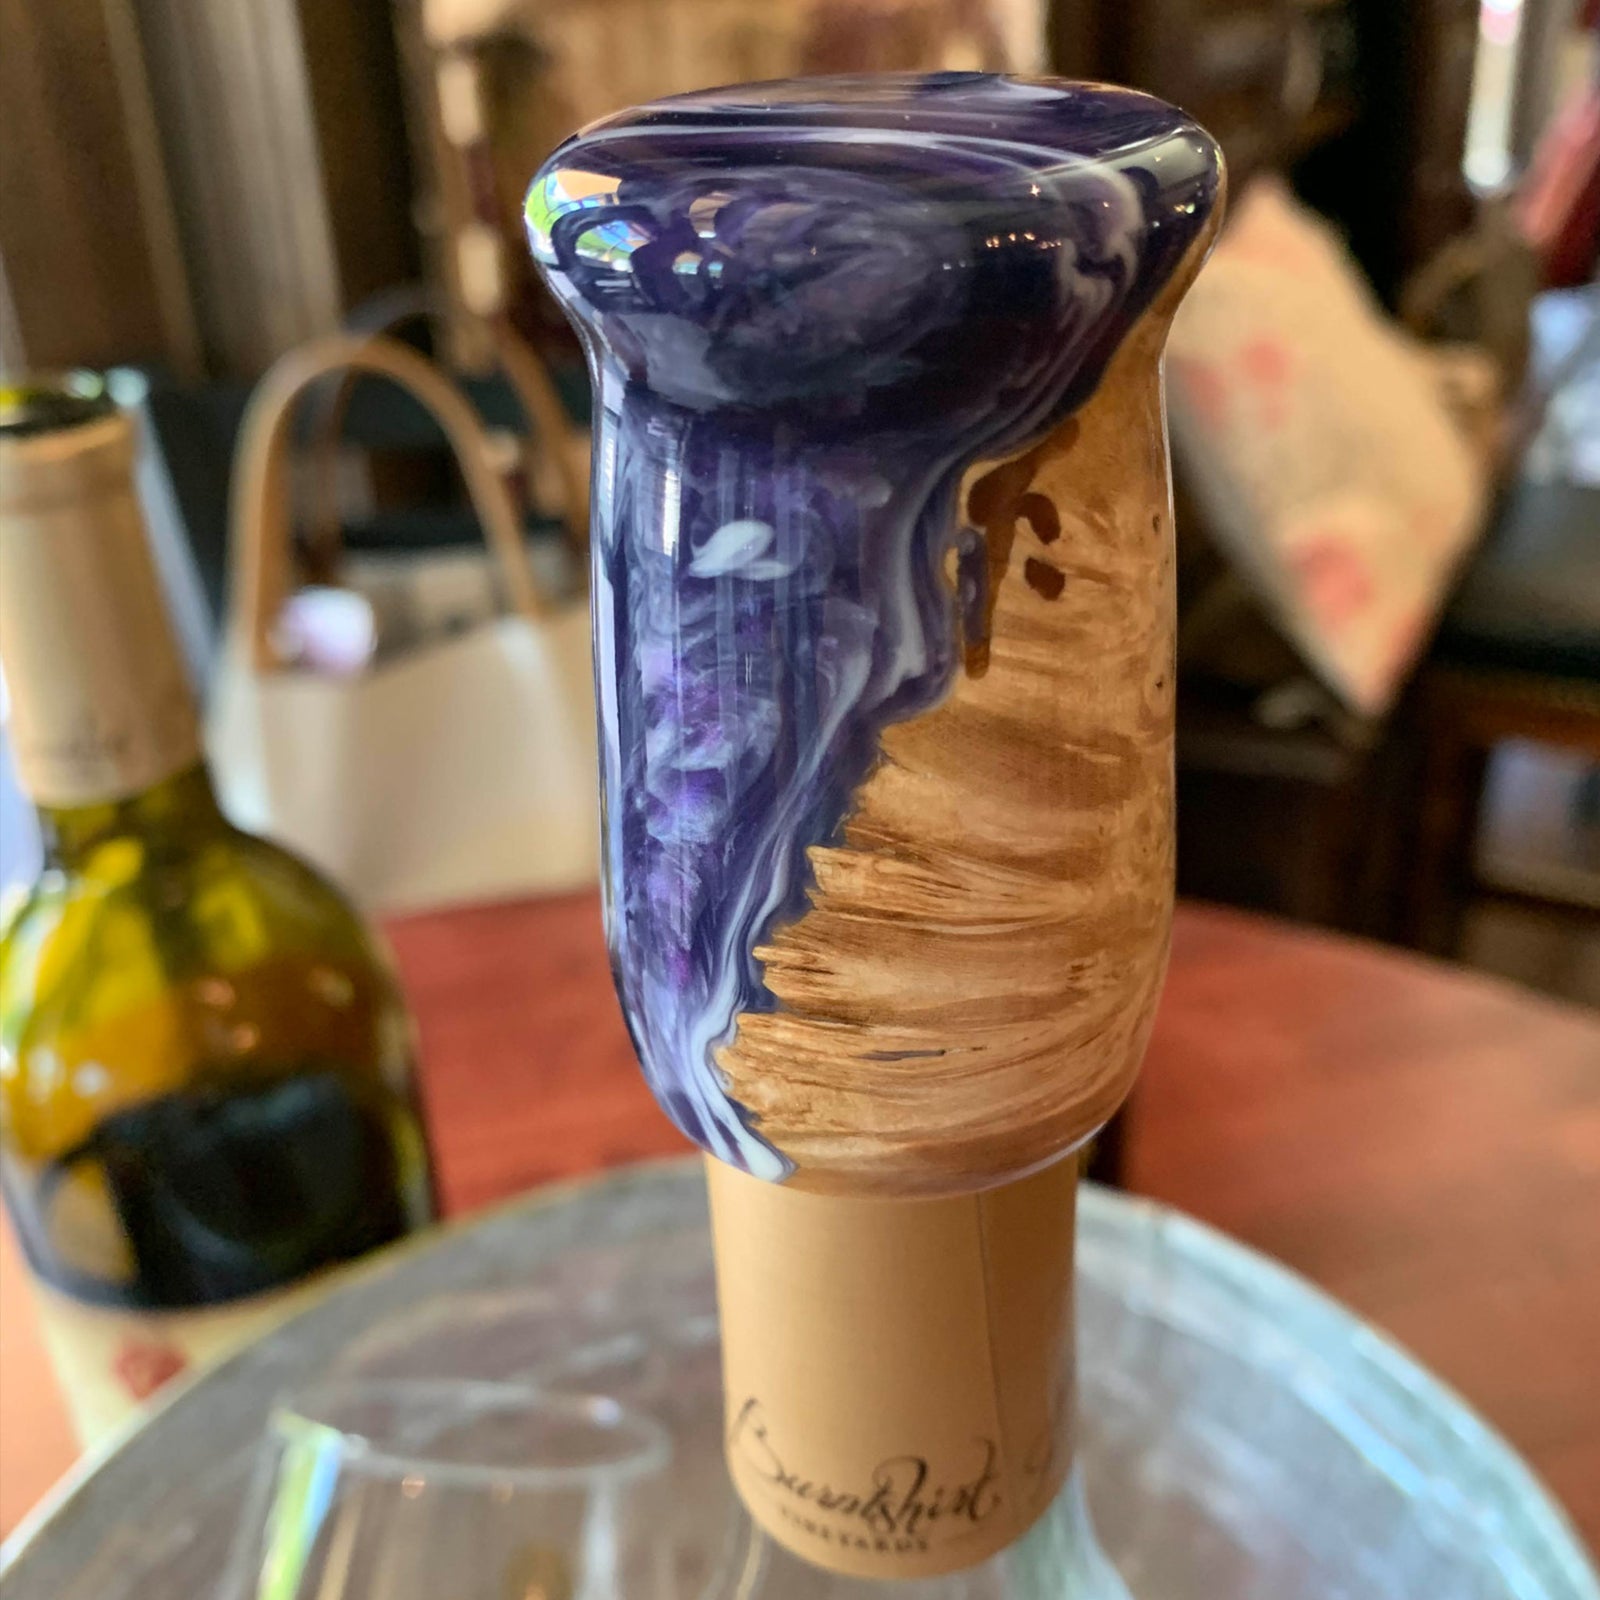

Making a Recessed Wine Bottle Stopper
One of my most popular items are the wine bottle stoppers I turn on my wood lathe. They are very unique because they are recessed, meaning that the cork is on the inside of the wine stopper and can not be seen when the stopper is on the bottle.
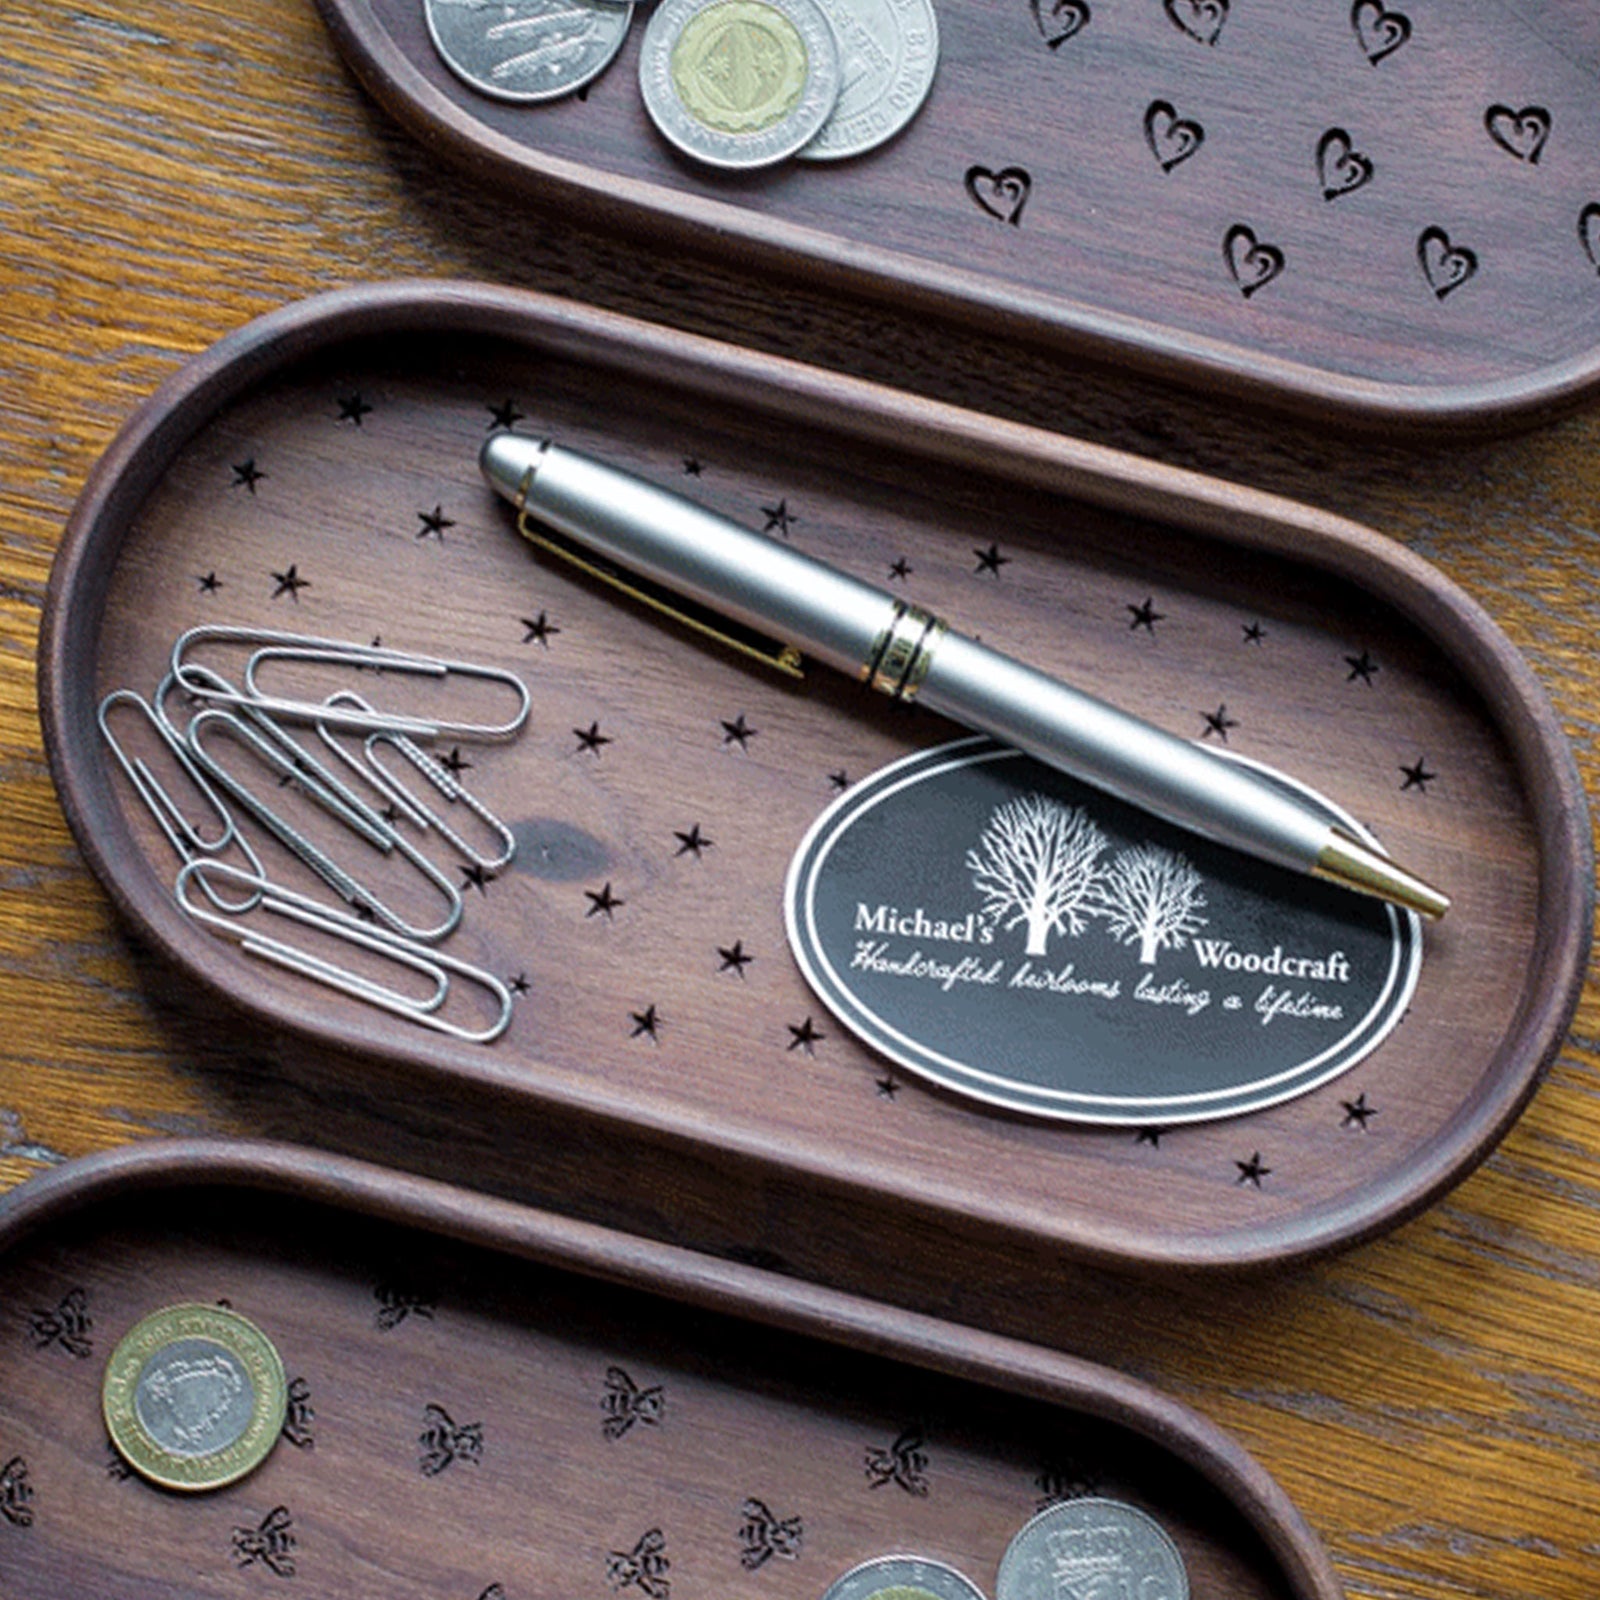

Catchall Trays
The catchall trays are great for holding small items such as glasses, watches, rings, earrings, thumb drives, car keys, coins, cell phone & charger, paperclips, thumbtacks, etc., the list is endless.